Heat Shrink Tape
 |
Vacuum bagging is sometimes used to produce the strongest and lightest composite laminates. The pressure induced by the vacuum bag squeezes out excess epoxy, and compresses the fabric weave tightly against the base form or tube. A side benefit is the substantial improvement in surface flatness and texture for better cosmetic appearance. Composite fabrics can be vacuum bagged to the outside and even the inside of rocketry airframe tubes. If you haven't done so already, read the articles on Vacuum Bagging and Reinforcing Tubes here for two excellent treatments of the subject.
But sometimes, vacuum bagging is just too much of a pain in the neck for a quick little project. Following is a discussion of the use of Heat Shrink Tape from Aerospace Composite Products to reproduce some of the benefits of vacuum bagging without the vacuum pump, compressor, bag, and endless waiting.
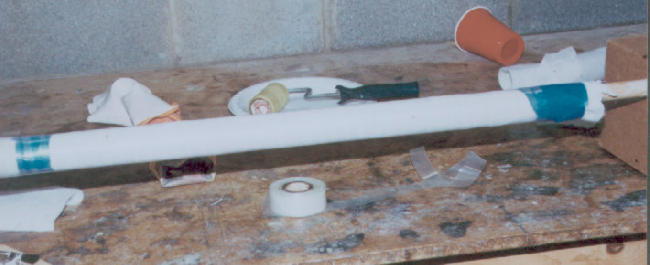
One inch wide Heat Shrink Tape from ACP costs $15 for 100 yards. Seven yards were used to wrap this project's tube. You'll also need fiberglass, epoxy, a release fabric like Peel Ply, and 'breather fabric' to absorb the excess epoxy. Many rocketeers use 2 to 6 ounce per yard 'glass, and tight weave 'glass looks better. Laminating under pressure lets you get away with a heavier and coarser weave fabric. A very slow, thin epoxy like West Systems 206 is necessary to allow the excess to squeeze out. West Systems nylon Peel Ply release fabric is good, but ACP's teflon coated 'glass (at $6 per yard) is the most porous release fabric. West Systems, ACP, Fibreglast and others sell composite, release, and breather fabrics.
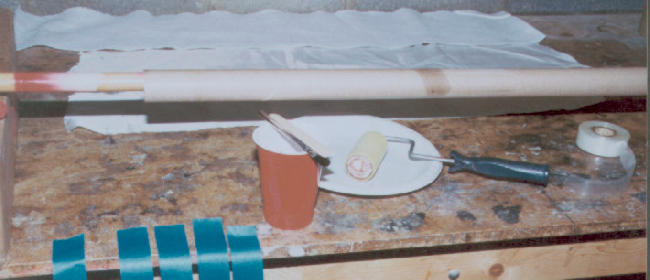
You start by gathering all the tools for the job and cutting out the three fabrics. The fiberglass and breather fabrics should overlap the tube ends by at least an inch or two, and should overlap themselves by about one inch or so. Release fabric must overlap the 'glass by a few inches. Even a small tube like this will still need two or three squirts of West epoxy, because the roller and breather will absorb some. Roughen the tube, mix the epoxy, and brush or roll a wet coat on the tube.
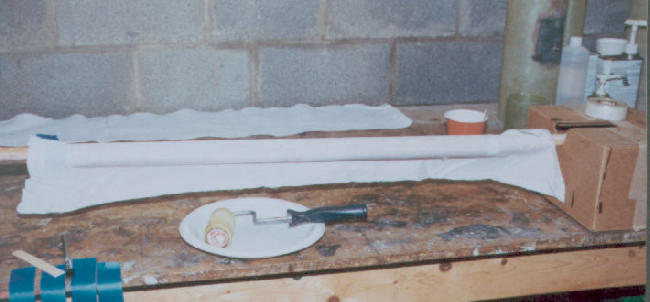
Use your best lay up techniques to apply the 'glass, and wrap it smoothly, evenly, and tightly around the tube. You won't be able to see the layup once you cover it with release and breather. Work a wet coat of epoxy into the 'glass- the release fabric and breather will absorb the excess.

Apply the release fabric ("peel ply") like it was another layer of 'glass: smoothly and tightly. You may want to rub it in gently with your gloved hands. It will determine the final surface of the layup. Don't disturb the 'glass underneath- it's mighty easy to do.
It's time for the fluffy breather element. In vacuum bagging, the breather element functions to establish a pathway for the vacuum to evacuate all areas of the bag. In this application, we're using it to soak up excess resin. A wrinkle or two in the breather element probably won't hurt the surface characteristics of your layup. A few strips of masking tape will keep it tightly in place for the next step.
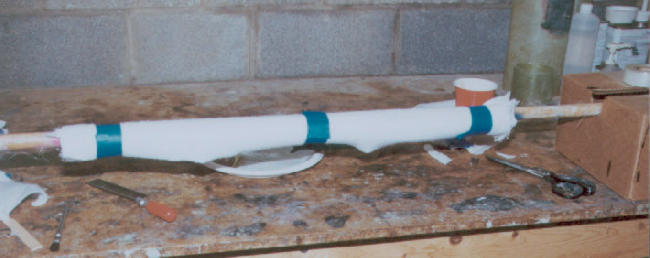
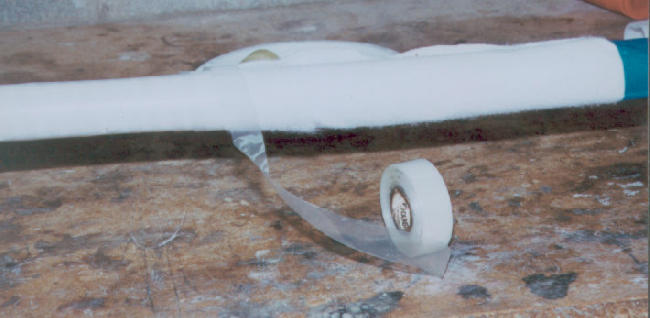
Start wrapping the heat shrink tape by wrapping it three or four times around itself to "lock it in".

Heat Shrink Tape doesn't Heat Shrink very much. You must wrap it fairly tightly. Overlap each wrap at least a quarter of an inch. The more overlap, the more "shrinking power" you get.
Wrapped and ready to cook. This tape shrinks at less than 175 degrees. When working on a small part, wrap it loosely in aluminum foil (just for cleanliness) and toss it in the oven. A typical oven measures to be 145 degrees at its lowest setting. The heat of the epoxy's exotherm in the 145 degree oven is enough to shrink the tape. On a sunny day, the wrapped tube can be put under a black barbecue grill cover on the back porch. Just be sure to shield the epoxy from the direct UV rays of the Sun, which is bad for it.
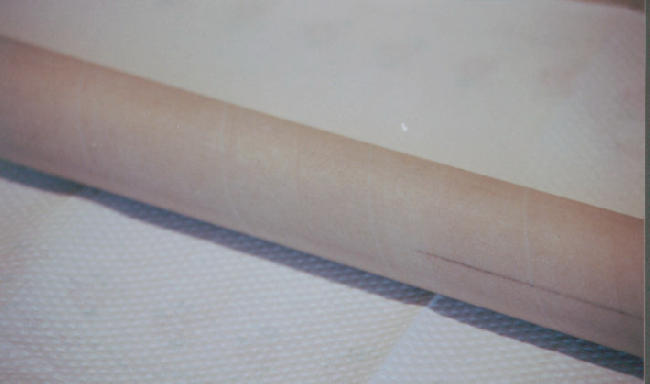
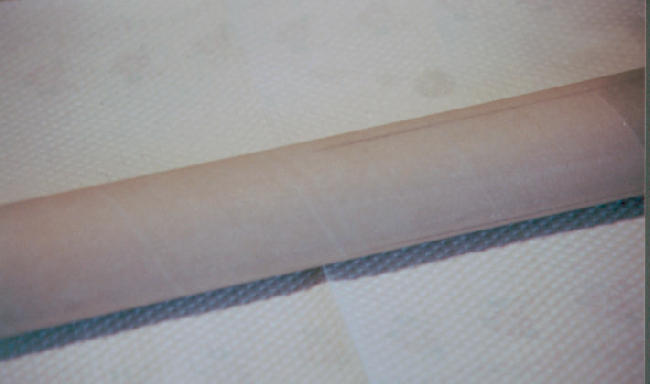
Finished. There are no bubbles or wrinkles, and the only surface texture is what's left from the Peel Ply. The seam is so tight that you can't see it in the photo. The cloth fibers are compressed nicely onto the tube. One doesn't get results this good without vacuum bagging, or otherwise pressure laminating.
Submitted by: Jim Jannuzzo
