
Suppose you are in the middle of building your latest rocket and realize that you need a tube coupler. Or, suppose you’re building a rocket with an odd sized tube, and you need a tube coupler to go along with it.
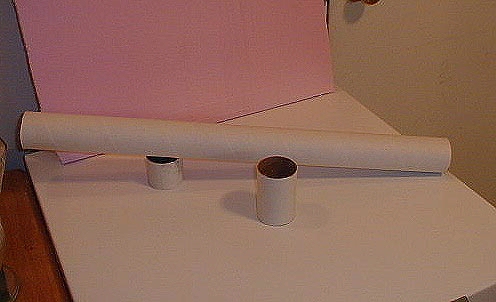
For those who use odd tube sizes, finding a proper sized tube coupler is sometimes hard, so this technique can be very useful. Making your own tube couplers is very easy and with a very little bit of math and a steady hand, you can make the perfect coupler of any diameter you need. In today’s example we are going to use a 2” mailing tube. It’s a standard mailing tube with these dimensions.
OD = 2-5/32” (2.156”)
ID = 2”
We simply need to make a tube who’s Outside Diameter is the same as our body tube’s Inside Diameter.
\[Circumference = 2\pi r\]
\[C_O = 2\pi\frac{2.156}{2} = 6.769”\]
\[C_I = 2\pi\frac{2}{2} = 6.283”\]
Where:
\(r\) is radius; half of the diameter
\(C_O\) is the outside circumference
\(C_I\) is the inside circumference
Which gives a difference of just about .49” (6.769” - 6.283” = 0.49”) to be removed. So all we need to do is cut .49” out of the diameter of our tube.
So let’s do it.
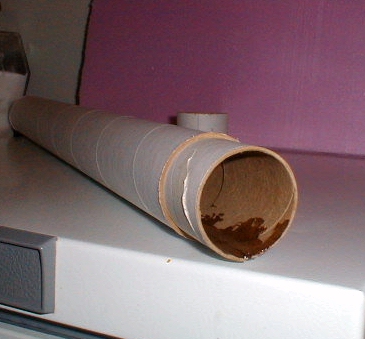
Get your mailing tube and cut a suitable length section to use as your coupler. Here we’re using about 3”.
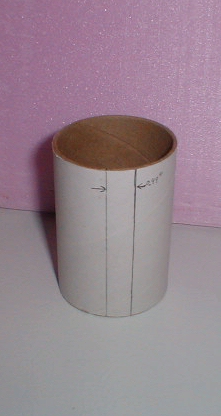
Mark a line down it’s length at an arbitrary location. Then mark a second line at your calculated distance. Extend the lines along the full length of the coupler using your favorite technique (such as a door frame).
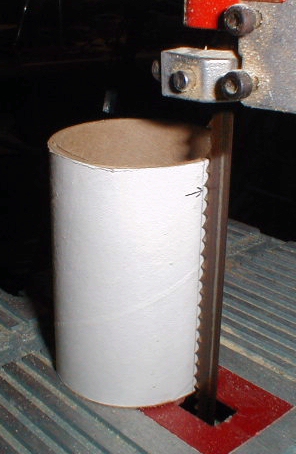
Then cut on your lines. This example shows the use of a band saw, but you can use any method you see fit.
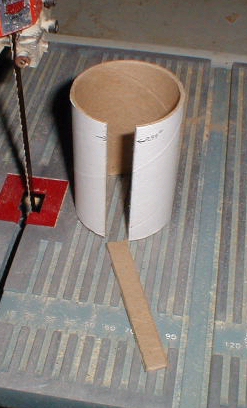
Join the two ends and you have the perfect size tube to fit inside your 2” mailing tube.
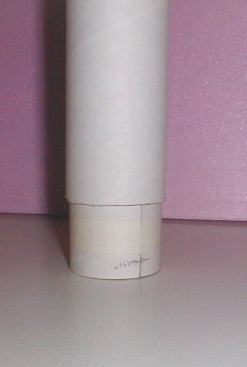
Secure with some scotch tape, or slide inside the body tube, and run a bit of epoxy along the joint on the inside of the tube to create a perfectly sized coupler tube. You could even re-enforce it with the removed bit of tube if you feel the need for added strength. (The coupler has been placed inside the tube to provide a form while the epoxy cures.)
Submitted by: Jon Simmons
I noticed that the math could be simplified a bit. The math used is:
\[2\pi\frac{D_O}{2} - 2\pi\frac{D_I}{2}\]
This equation can be simplified to:
\[(D_O - D_I)\pi\]
This is a whole lot simpler to work out when one is in the middle of construction, and can easily be punched into even a simple “4-banger” calculator.
Submitted by: Dan King